
About nginx
NGINX is a very fast Webserver, its faster than Apache (under similar conditions) because it doesn't need to spawn new processes or threads for each request like Apache does. Hence it also has a low memory foot print. - sridharpandu
Getting Started
For this guide, we will be installing nginx on a Digital Ocean droplet running Ubuntu 15.10. If you need help setting up your own droplet, check out my other blog post, How to set up a Digital Ocean Droplet.
Install nginx
Run sudo apt-get install nginx and you're done...just kidding!
Well, technically nginx is now installed and you can access it at your IP address, but we want to easily access our files and change some permissions around before we call it a day.
Web root location
By default, nginx will create a directory at /var/www/html that will house all of your static files that you want to serve.
While your website will work just fine at this location, it isn't really the proper spot to place files for nginx to serve. Also, if you end up hosting multiple domains in the future, it'll just become a bigger mess. What we are going to do instead is place our files in the /srv directory,
Setting up /srv
We are going to have to set up a directory structure in the / folder which will require a lot of sudo.
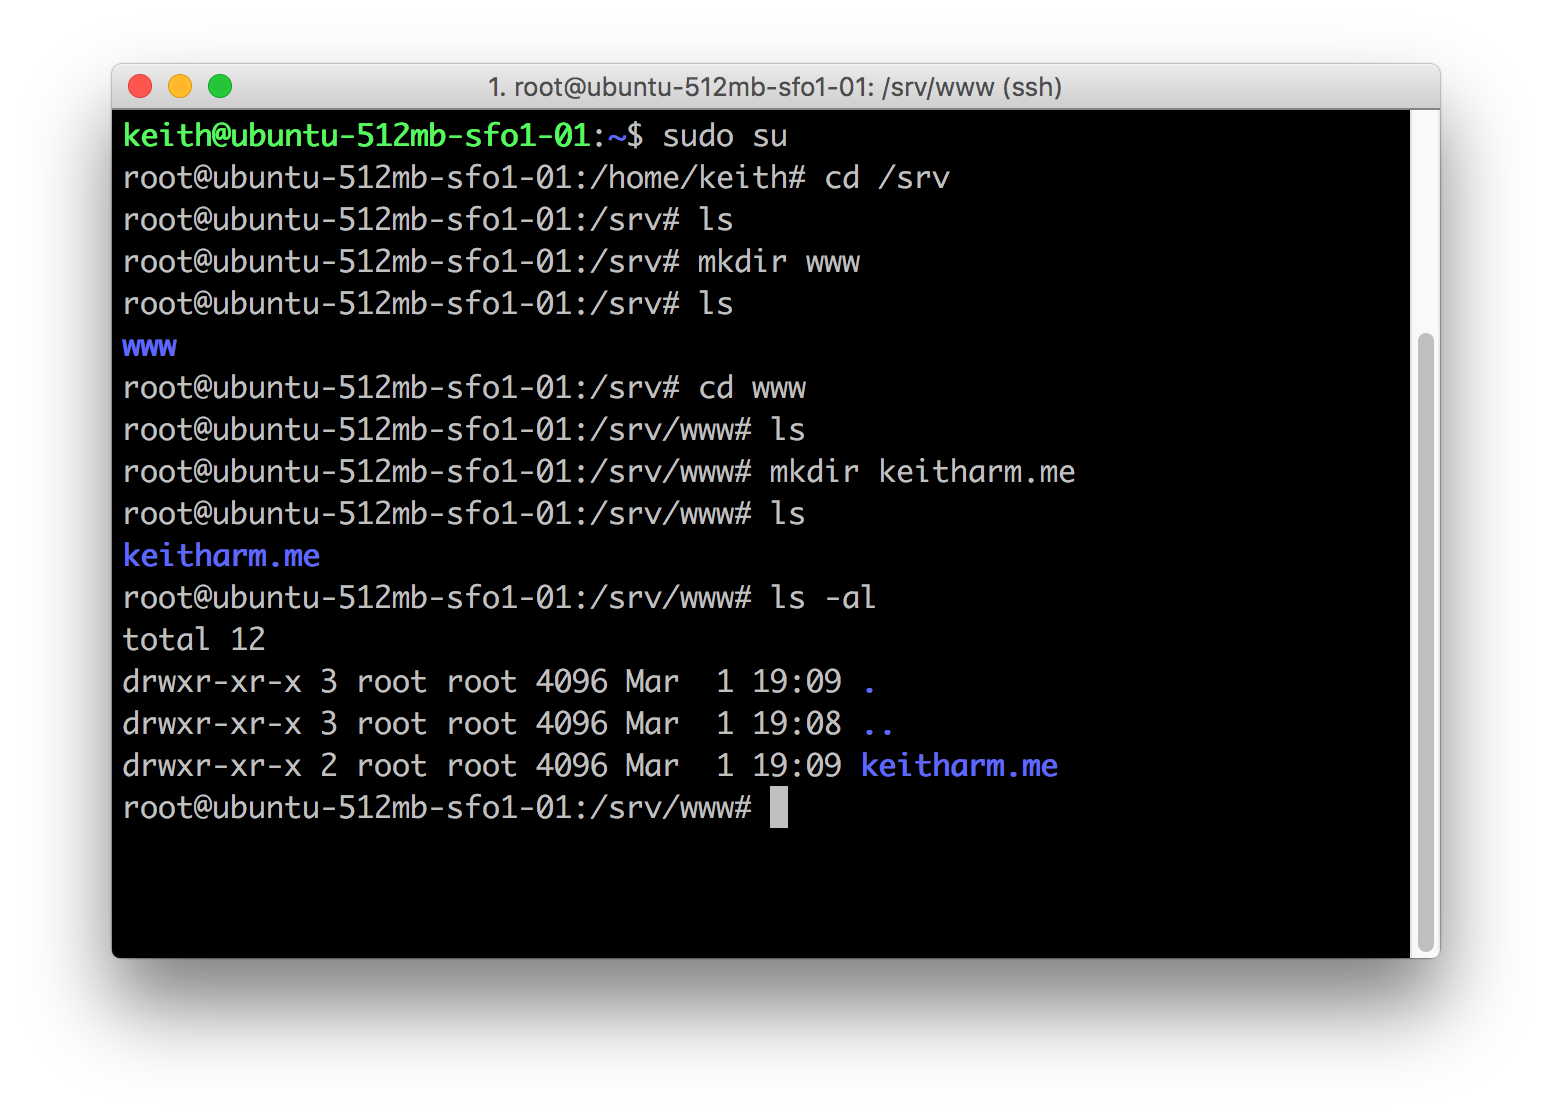
To save some typing, you can login to the root account by typing sudo su followed by your password. Now you won't have to prepend every command with sudo for the next few steps.
Go to the /srv folder with cd /srv.
Now make a directory called www by running mkdir www and then go to the new directory with cd www.
This will be the directory that all of your domains will be housed. Make a new folder with your domain. For example: mkdir keitharm.me. If you don't have a domain and just want to host from your ip, you can make a default folder instead mkdir default. Now, enter the directory and make a directory called public_html. This will be the directory that all of your files you want to served from. Next, enter public_html and type echo "hello world" > index.html to make a test index.html file that we can use for later.
Permissions
Currently, any of the files under the /srv directory will require root permissions in order to modify/create/delete. We will need to change the permissions of the domain folder you made so that you (and possibly others) will have access to the files.
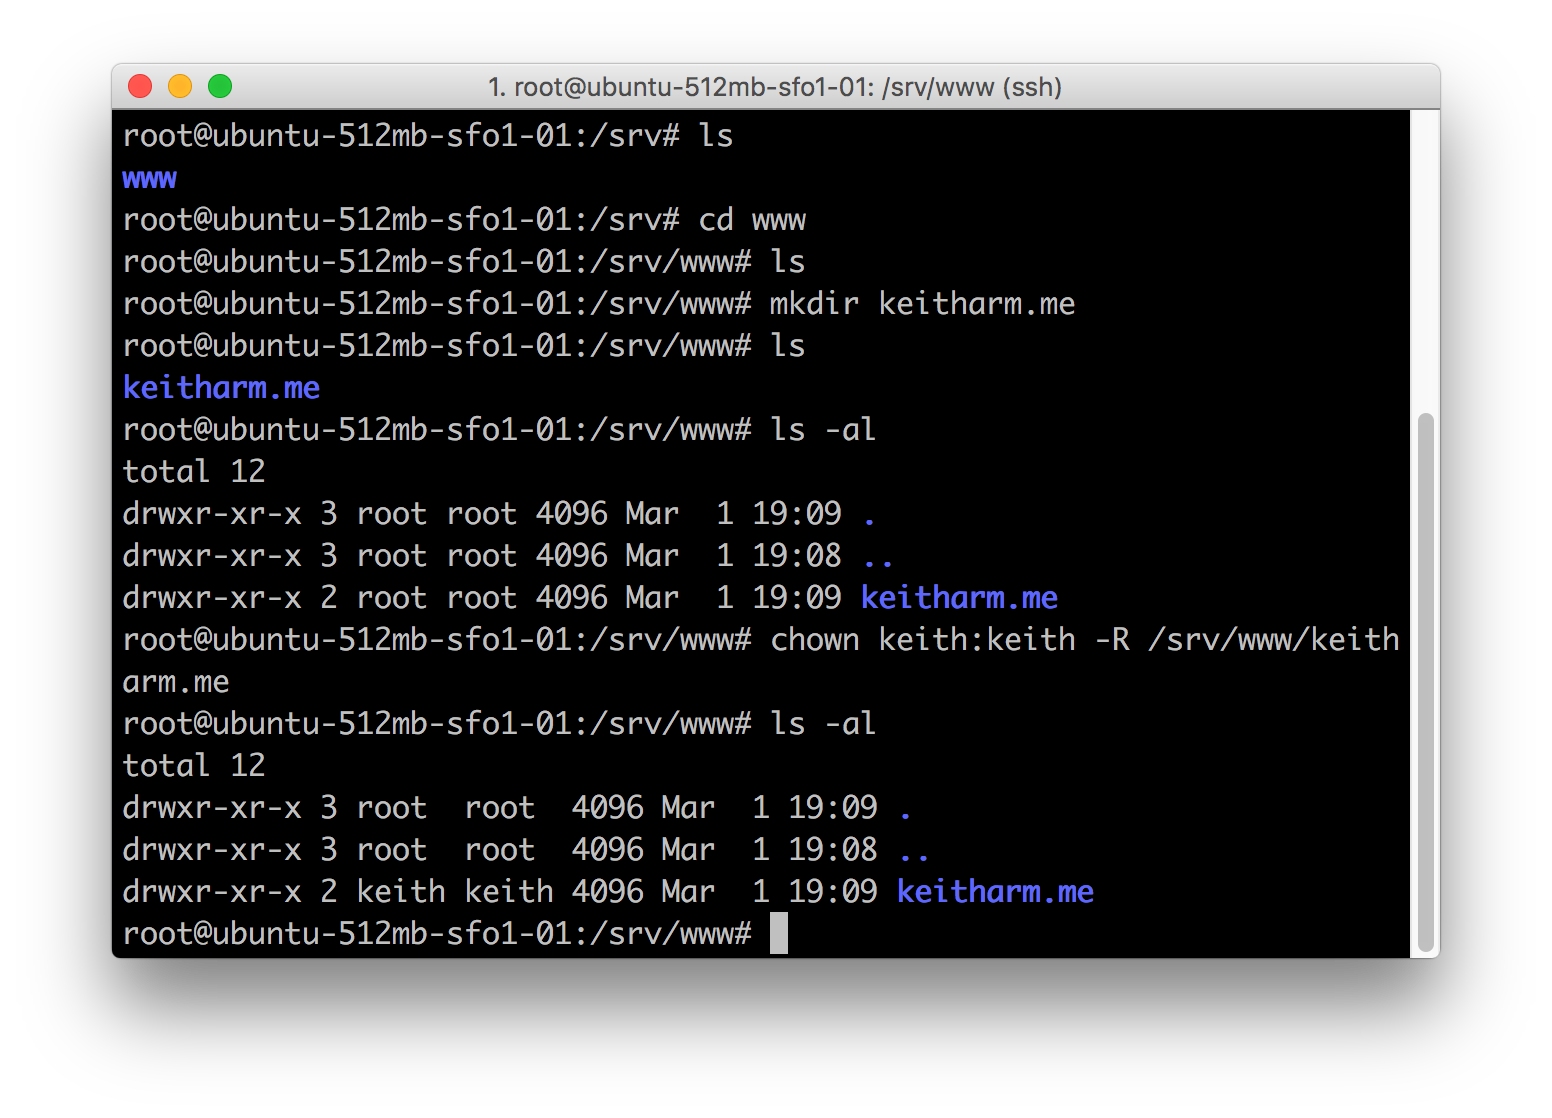
If you only want 1 user to have read/write permissions for a domain's directory, you can easily just run chown keith:keith -R /srv/www/keitharm.me. This will make it so that only keith (and root) can create/modify/delete files in the keitharm.me directory as well as any directories underneath it (public_html). You can skip to the next step, "Making an easy access alias".
If you want multiple users to be able to read/write a domain's directory, we will have to setup a new group that has access to the folder. To do this, we will make a new group called keitharm, give the keitharm group read/write permissions for the keitharm.me directory, and then add users keith and garrett to the group so that both users have access. To make a new group, type addgroup keitharm.
Now, we need to change the group owner of /srv/www/keitharm.me to keitharm.me. You can do this by typing chgrp keitharm /srv/www/keitharm.me. Next, we need to set the read/write permissions for the group. Type chmod g+rws -R /srv/www/keitharm.me.
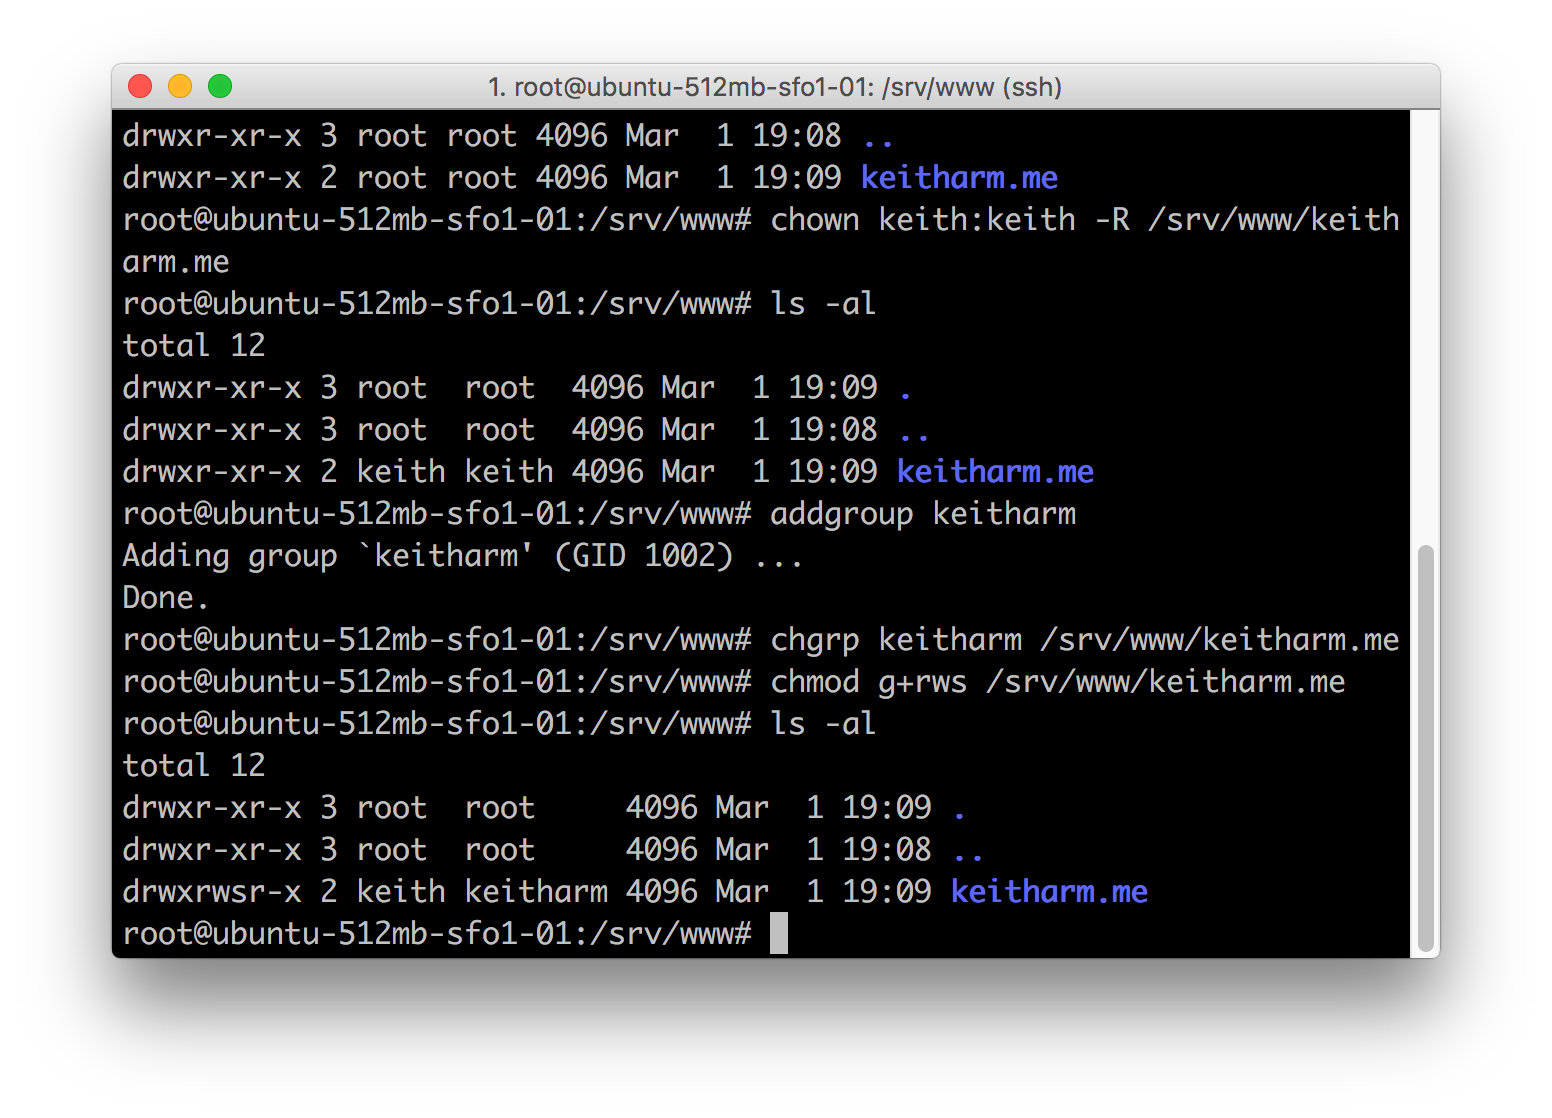
If you are wondering what the s means in that command, you can read up more about setuid/gid here. Basically, it means that if a user with read/write permissions to a directory creates a file, it'll duplicate the current read/write and group permissions for that file. This is so that if keith creates a file, it'll make the group owner for that file keitharm and also make it maintain it's read/write permissions so that later on, garrett could modify that file as well. This applies to directories as well.
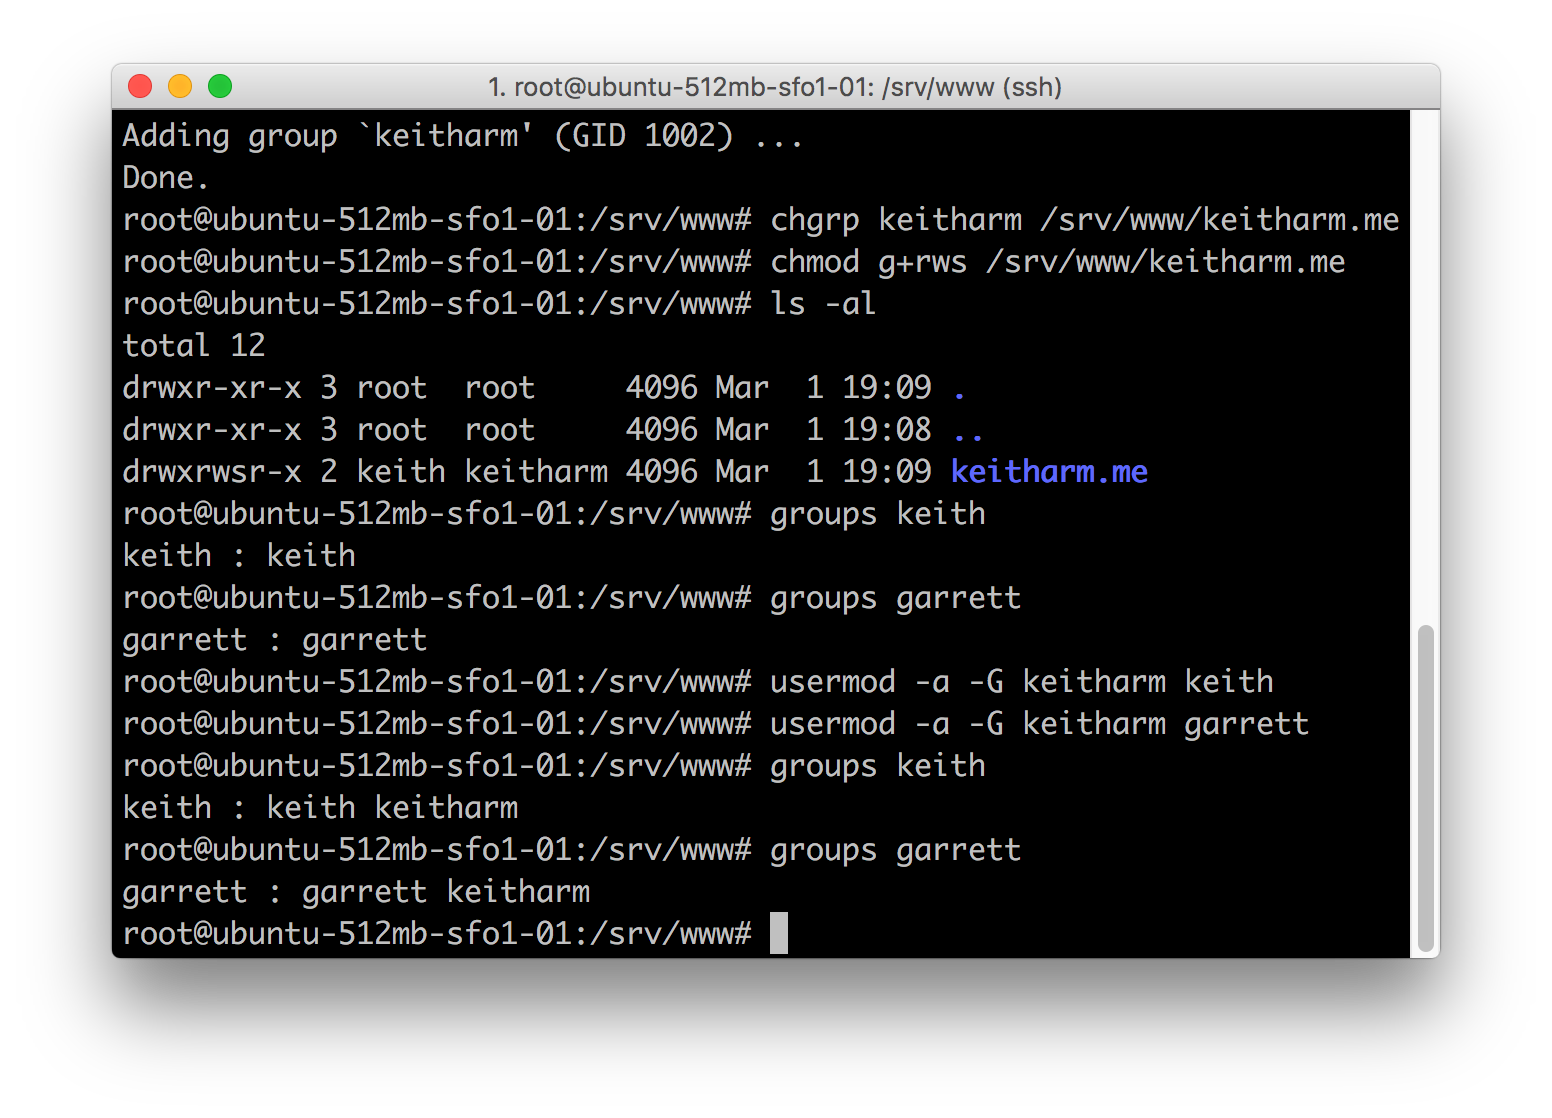
Now for the last step, we have to add keith and garrett to the keitharm group. You can do this with the usermod command like so:
usermod -a -G keitharm keith - Add keith to the keitharm group.
usermod -a -G keitharm garrett - Add garrett to the keitharm group.
Now both of those users will have full read/write permissions for the domain's directory (if the user is currently logged in, they'll need to logout and back in again for the permissions to update for their account).
Making an easy access alias
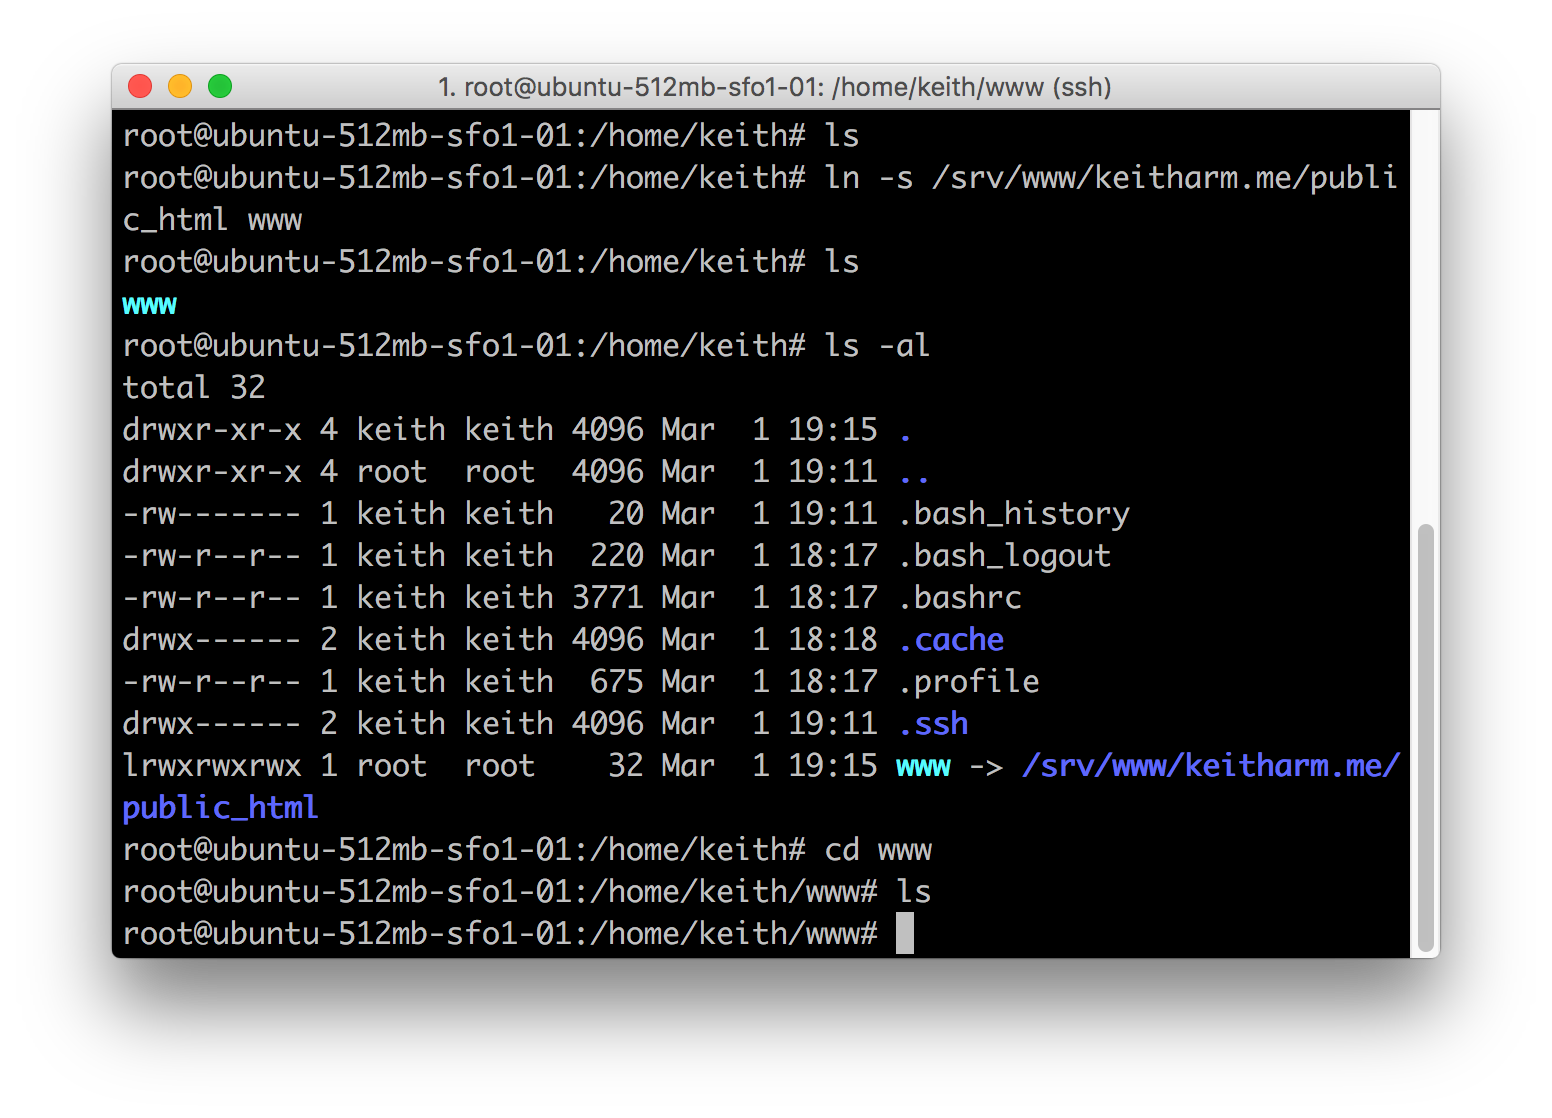
For the last step, it'd be nice if you didn't have to type the full path /srv/www/keitharm.me/public_html/ everytime you wanted to access something on your website. Luckily, we can use symbolic links to make a shortcut in your home directory so that you can access your files through something like www instead.
Make sure you are in the user's home folder (or wherever you want the shortcut to be) and type ln -s /srv/www/keitharm.me/public_html www. This will make a new symbolic link in the directory that you can cd into to easily get to the real directory.
Changing nginx's default directory
Now that we have all of our permissions and directories set up, we need to update the nginx config to point to the new paths.
nginx's config is located at /etc/nginx. What we are interested in is the sites-available folder. By default, there is a default file in there with nginx configuration information. If you only want to host from your ip, you can keep this file. Otherwise, if you have a domain, make a newfile with your domain name like keitharm.me.
Now, copy the default config file into your new domain file with cp default keitharm.me. And then, edit the file with nano keitharm.me.
You will see a lot of configurations settings that you can learn more about here, but the one setting that we are concerned about is the root value. Located on line 36, this is the directory that nginx will server files out of.
Change this to /srv/www/keitharm.me/public_html and then save and close the file.
Now go to /etc/nginx/sites-enabled. This is the actual directory that nginx loads the settings from. You can think of the sites-available directory as the staging area. In order to "enable" the site, we make a symbolic link to the config file in the sites-available directory like so:
ln -s /etc/nginx/sites-available/keitharm.me
Make sure you remove the default file with rm default if you are using your own domain file.
Now, test your nginx configuration with nginx -t. If no errors appear, you can restart the nginx server with service nginx restart.
Go to your ip address and you should see our "hello world" message from the index.html file that we created from before!